
Last updated November 21, 2026
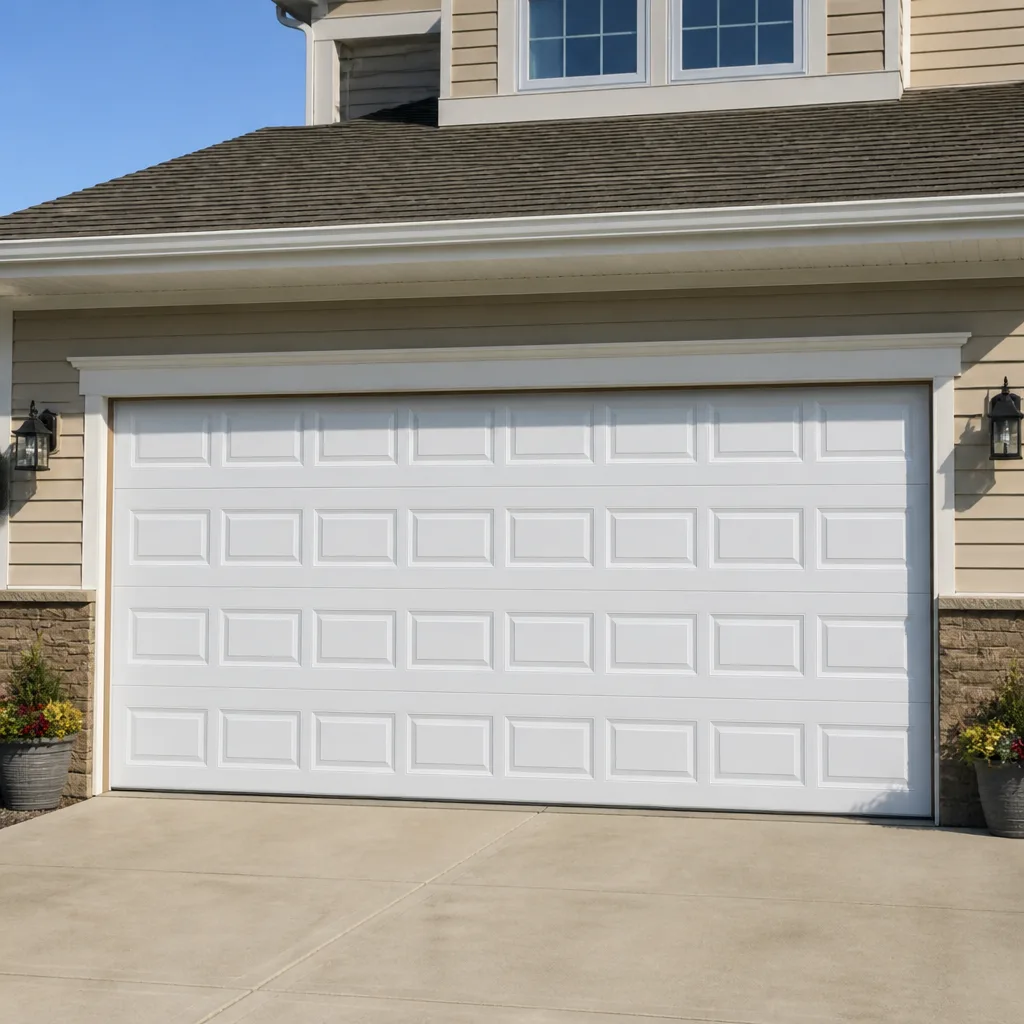 Raised-panel steel
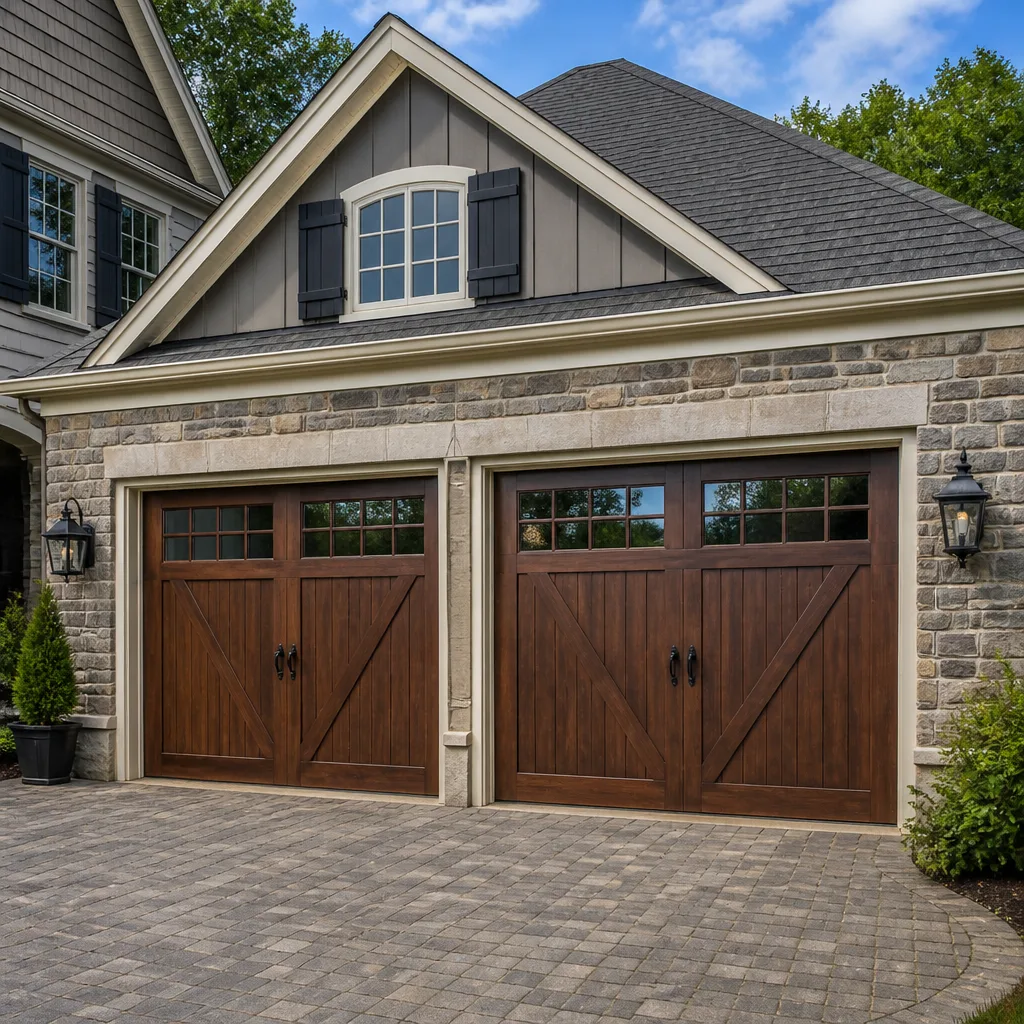 Carriage house
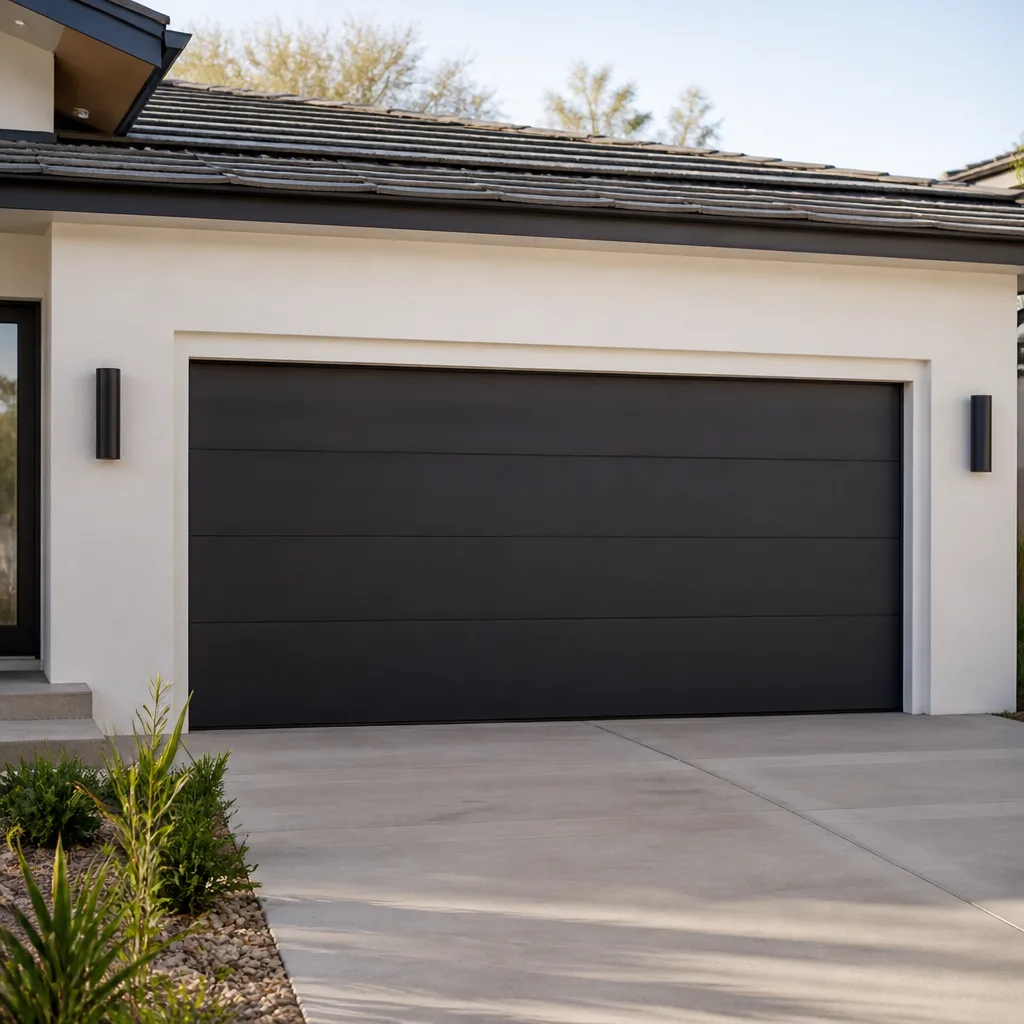 Modern flush
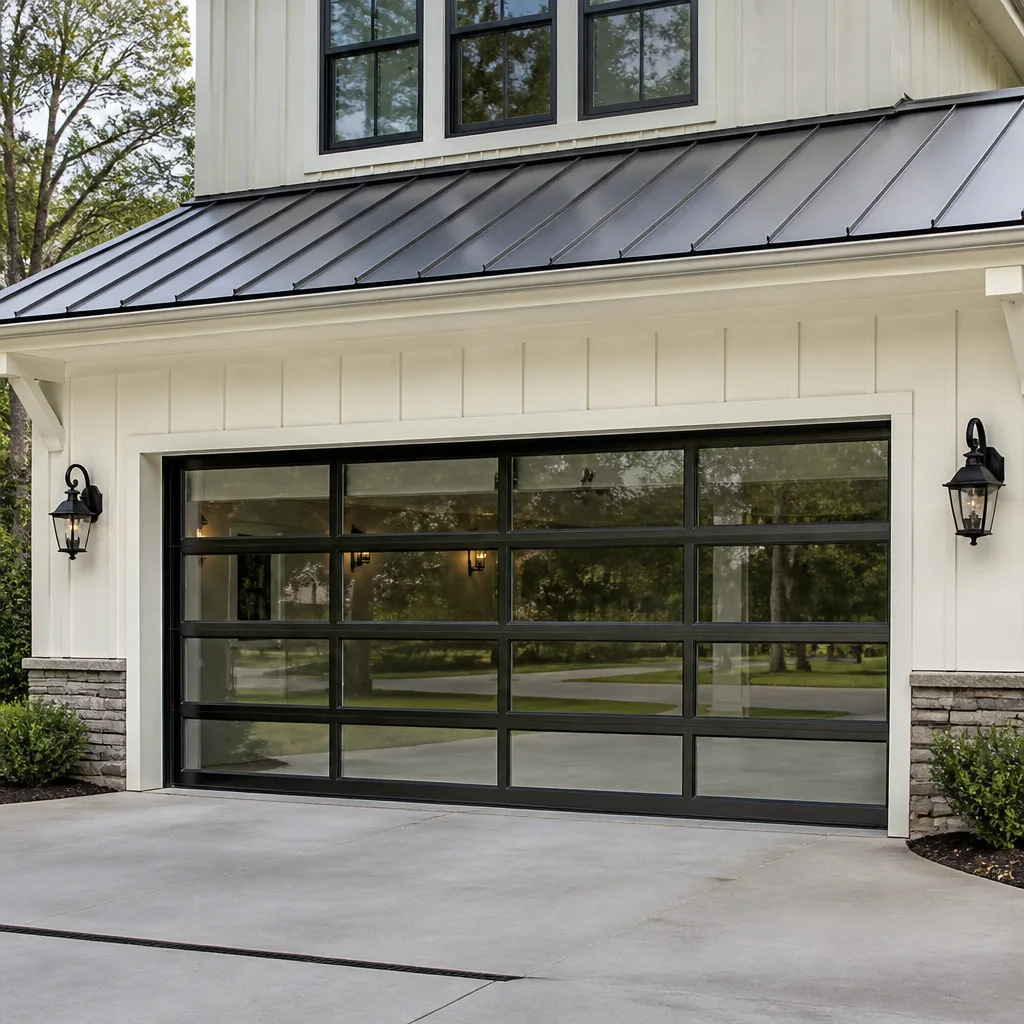 Full-view glass
 LiftMaster openers
 Chamberlain openers
Full 25-point door and opener safety check with every visit - springs, cables, rollers, tracks, and your LiftMaster or Chamberlain opener included
You get a price before we start. It does not change when the pro arrives.
Get your free estimateGarage Door Repair Maintenance Checklist for Akron Homeowners
Torsion springs don’t wear out by age. They wear out by cycle count, and a spring rated for 10,000 cycles doesn’t care whether those cycles took two years or twelve. Most Akron homeowners have no idea which side of that equation they’re on, and that gap is exactly where emergency repair calls come from – a door that worked fine last week suddenly won’t lift, and the spring was simply past its limit. This checklist is built around the two failure patterns we actually see in Akron: cold-weather spring fatigue and frost-driven track misalignment. Below you’ll find cycle-count math, a component-by-component lubrication spec, a seasonal weatherseal calendar, and the three safety tests worth doing every quarter.
Quick Answer
A solid garage door maintenance checklist for Akron covers three things: estimating remaining spring life from your actual daily cycles, inspecting tracks and the concrete floor for winter frost heave, and running the three safety tests (auto-reverse force, photo-eye alignment, manual disconnect) every quarter. Lubricate moving parts twice a year with the right product for each component, and check weatherseals on Akron’s seasonal schedule rather than on an arbitrary date. Springs and cables are not a homeowner job – those need a trained technician.
Styles & brands we work with
- Raised-panel steel
- Carriage house
- Modern flush
- Full-view glass
- LiftMaster openers
- Chamberlain openers
Table of Contents
- Cycle-Count Math: How Much Spring Life Is Left?
- Frost Heave and Track Alignment: The Akron Winter Problem
- Lubrication by Component: What Goes Where
- Weatherseal Inspection on a Seasonal Calendar
- The Three Safety Tests Every Homeowner Should Run Quarterly
- Your Monthly Walk-Around
- How to Tell a Maintenance Item from a Repair
- Common Mistakes to Avoid
- When to Call a Professional
- Frequently Asked Questions
Cycle-Count Math: How Much Spring Life Is Left?
A torsion spring is rated in cycles, not years. One cycle is one full open and one full close. A spring rated for 10,000 cycles is a common spec on residential doors, and the math is simple: divide that rating by your household’s daily cycle count and you get a working estimate in days, then convert to years. Here’s how to run it for your own door.
- Count the trips, not the people. A two-car household where both cars leave and return once each is four cycles a day. A household with a stay-at-home parent and a delivery-heavy routine might be eight.
- Add the non-car openings. Yard tools, bikes, the recycling bin run, the dog. Those count too.
- Divide the rating by your number. At four cycles a day, a 10,000-cycle spring lasts roughly 2,500 days – about seven years. At two cycles a day, the same spring stretches to roughly fourteen.
- Subtract for what you know. If the door has been up for a while and you’ve never replaced the springs, you can estimate how much of that rating is already spent.
That range – seven years in a busy Akron household, fourteen in a quiet one – is why two neighbors with identical Clopay doors can have completely different spring timelines. It’s also why “my springs are only a few years old” isn’t a useful diagnostic on its own. Cycle count is.
Why cold weather matters to this calculation
Akron’s winter temperature swings mean the door cycles through expansion and contraction along with every open and close. That mechanical stress doesn’t change the cycle rating, but it does mean a spring near the end of its count is more likely to fail during a cold snap than in July. If your math says you’re close to the limit, late fall is the sensible time to have the springs looked at rather than waiting for them to announce themselves in January. When a spring does go, that’s a job for Garage Door Repair Akron Pros rather than a weekend project – a wound torsion spring under load can injure even an experienced pair of hands.
Frost Heave and Track Alignment: The Akron Winter Problem
Akron’s freeze-thaw cycle is the second engine of garage door problems here, and it has nothing to do with the door itself. Frost heave is what happens when moisture in the soil under the slab freezes, expands, and lifts the concrete – sometimes a quarter inch, sometimes more. Garages sit on that slab. When the floor moves, the tracks bolted to the wood framing don’t always move with it, and you get a track that’s been pulled slightly out of plumb.
What a misaligned track feels like
- The door binds or hesitates at a specific point in its travel
- The door looks slightly off-center within the frame when closed
- Rollers jump, scrape, or rattle more than they used to
- The gap at the bottom of the door is uneven from one side to the other
- You hear a pop or clunk near the bottom of one track
None of these are “the door is broken” in the catastrophic sense. They’re early warnings, and they’re worth acting on before the opener strain turns into a stripped gear or a bent panel. In our experience, the spring and track issues that show up in Akron garages in January usually started with floor movement in December.
What to check after a hard freeze
- Look at the concrete along both tracks. You’re looking for a new crack, a lift at one edge, or a visible lip where the floor meets the wall.
- Check the door gap. Stand inside and look at the daylight under the closed door. An uneven gap suggests the door isn’t sitting level.
- Watch the door travel from a safe distance. If it hangs at one spot on the way up, stop the door and note the height – that tells a technician exactly where to look.
- Don’t force it. If the door won’t close, leave the opener disengaged and call for service rather than running it repeatedly.
Track adjustments look trivial and aren’t. A track holds a door weighing a couple hundred pounds under spring tension, and bending it back by eye tends to make the misalignment worse. This is one of the checks worth flagging at the first sign rather than correcting without proper tools.
Lubrication by Component: What Goes Where
Lubrication is where well-intentioned maintenance does the most damage. The wrong product on the wrong part attracts grit, thickens in cold weather, or destroys what it touches. Here’s the component-by-component spec.
Roller and hinge lubrication
White lithium grease or a purpose-made garage door lubricant on steel rollers, hinges, and the pivot points. A thin coat is enough. Nylon rollers don’t need much at all – a light spray is fine, and over-lubricating them just collects dust. Apply twice a year, typically once before winter and once in spring.
The torsion spring coils – and what never to use
A light application of a proper garage door lubricant on the coils reduces friction between the winding turns and cuts the groaning sound. What never goes on them: WD-40 as a lubricant (it’s a solvent, not a long-term lubricant, and it dries to leave the part unprotected), motor oil (it slings off and attracts dirt), and anything on the ends of the spring or the winding cone, which should stay dry. Never attempt to unwind, adjust, or touch the springs or cables themselves while lubricating – the coils are under extreme tension, and the safest and correct approach is to spray the coils as they sit and leave the tension system to a technician.
Hinges, bearings, and the opener rail
- Hinges and roller stems: light lithium grease, twice a year
- Center bearing plate and end bearing plates: a few drops of a light oil
- Opener drive screw or chain: follow the manufacturer’s spec for your LiftMaster, Chamberlain, Genie, or Craftsman unit – the wrong lubricant is worse than none on a chain drive
- The opener rail: clean and dry, never greased
If a door is six years old and has never been lubricated, or if the opener has been making a grinding sound since fall, it’s a short call to garage door opener repair and we can tell you whether it’s lubrication or a worn part.
Weatherseal Inspection on a Seasonal Calendar
“Twice a year” is the generic answer and it’s not specific enough for Akron. Weatherseals here take a particular beating because the seal has to survive both summer humidity swings and winter’s freeze-thaw, and the job of checking them lines up with the seasons rather than with a fixed date on the calendar.
Fall check (before the first hard freeze)
- Bottom seal: check for cracks, flattening, or a hard, brittle feel – cold rubber doesn’t seal if it’s already lost its flexibility
- Side seals and the top seal: check for gaps where the door meets the frame
- Threshold: check whether the concrete has lifted at any spot, which will unseal the bottom even with a good seal
Spring check (as the thaw arrives)
- Re-check the threshold for frost lifting and note any new cracks
- Check for a gap that appeared over winter and wasn’t there in October
- Look at the seal’s compression along the length of the door – uneven compression often means the track has moved, not the seal
Summer check
- Look for sun damage on the south-facing side of the door and the exposed seal edges
- Clean the bottom seal to stop grit from grinding into the rubber
The weatherseal is one of the cheapest parts on the door and one of the most ignored. A hardened, brittle seal on a Genie or Wayne Dalton door lets cold air and moisture in, and moisture is what starts the whole frost-heave chain in the concrete under the door. Timing the inspection to the seasons costs nothing and catches more than an arbitrary spring cleaning.
The Three Safety Tests Every Homeowner Should Run Quarterly
These three checks should be on the calendar every quarter. They’re quick, they’re safe to do, and they catch the failures that turn into door damage or worse.
1. Auto-reverse force test
Place a piece of 2×4 lumber flat on the floor in the door’s path. Close the door using the wall button or remote. When the door contacts the board, it should reverse direction and travel back up – not stop, and not keep pushing. If it keeps going, the force setting on the opener is too high and needs to be dialed down. That adjustment is often a simple dial inside the opener head, but if the door reverses when it shouldn’t, or won’t reverse when it should, get a technician to check the linkage. The safety reversal system is the single most important feature on the whole door, and it’s the part most likely to be left out of adjustment.
2. Photo-eye alignment test
The photo-eyes are the small sensor units mounted about six inches off the floor on each side of the door. Wipe the lenses clean. Then, with the door open, wave a hand in front of one sensor – the door should refuse to close and the opener’s light should blink or the unit should click. If the door closes anyway, the beam is misaligned or the sensor wiring has a fault. Check both sides, because most openers will fail safe if either sensor goes offline, but a misaligned one can be masked by the other.
3. Manual disconnect test
Pull the red emergency release handle hanging from the opener carriage. The door should detach from the opener and lift manually with reasonable effort. A properly balanced door, once lifted a couple of feet, should stay put or drift only slightly. If it sinks quickly, the springs are losing tension or the door is out of balance. Re-engage the carriage by pulling the handle back and running the opener until it clicks in. Never pull the release while the door is open and then let it drop – the door is heavy and gravity does the rest.
None of these three tests require tools, and none of them put you near the springs or cables. If any test fails, that’s a session to book rather than a DIY repair.
Your Monthly Walk-Around
A sixty-second visual check once a month catches most of what quarterly tests miss. This isn’t a repair session – it’s a look at the door the way you’d look at your tires before a long drive.
- Look at the springs from a distance. A gap, a visible twist, or a stretched coil means the spring is on its way out.
- Check the cables on both sides. Fraying, a kink, or a cable that’s come loose from its drum is a red flag. Don’t touch – call.
- Run the door and listen. A new grinding, scraping, or rattling sound is early information. Note the height at which it happens.
- Look at the hardware. Loose bolts on hinges and brackets can usually be snugged with a wrench, but don’t tighten anything attached to the spring system.
- Check the opener’s light and behavior. A blinking light or a door that stops short of the floor is the opener talking to you.
- Sweep the threshold. Grit under the bottom seal abrades it every cycle. A quick sweep is free maintenance.
Akron’s winter roads bring grit into the garage on every trip, and that grit has more effect on the bottom seal and the rollers than most of what’s on this checklist. Sweeping the threshold is the cheapest, most underrated maintenance item.
How to Tell a Maintenance Item from a Repair
Not everything on a checklist is a homeowner task, and knowing which side of the line you’re on matters. Here’s the rough split.
- Homeowner territory: lubrication, sweeping the threshold, wiping photo-eye lenses, the three safety tests, visual inspection, checking the weatherseal, tightening visible hinges and brackets, cleaning the door and opener.
- Technician territory: springs, cables, drums, bearing plates, track realignment, opener gear and motor replacement, door balance correction, any panel replacement, and any repair where the door won’t close or lift.
The dividing line is simple: if the repair involves spring tension, a wound cable, or a component weighing more than the door with the springs released, it’s technician work. Our team has up to 15 years of experience with these systems, and the parts of this trade that look fiddly are the parts where a mistake is genuinely dangerous.
Common Mistakes to Avoid
- Spraying WD-40 on the torsion springs instead of a proper lubricant. It’s a solvent that dries and leaves the coils unprotected. In our experience, this is the most common lubrication error on Akron doors. Use a purpose-made garage door lubricant, and never touch any part of the spring beyond the coils themselves.
- Winding or adjusting the springs yourself. Torsion springs hold enough energy to cause serious injury, and no checklist makes this a homeowner job. The safety caveat here is absolute: leave the springs, cables, and drums to a trained technician.
- Lubricating the opener rail and the photo-eyes. Grease on the rail attracts grit and makes a chain drive noisier, and any film on the sensor lenses interrupts the beam. Clean and dry is the rule for both.
- Bending a track back into line by eye. Frost-driven track alignment shifts are common in Akron and looks like a simple fix, but a door under spring tension isn’t something to force back into position. A track that’s re-plumbed without checking the door’s true travel can cause more binding than the original problem.
- Ignoring a small gap under the door after winter. That gap is the first sign the concrete or the track moved, and it’s the point where catching the problem is cheap. A weatherseal job is much simpler than a track realignment and panel repair.
- Setting the opener force all the way up to fix a binding door. This masks the symptom (an out-of-balance door or a stiff track) and disables the safety reversal that protects the door, the vehicle, and anyone under it. If the opener needs more force to close, the door needs checking.
- Running the door repeatedly when it’s jammed. Every forced cycle puts strain on the opener gear and the spring. If the door won’t move normally, stop and call rather than trying it “just one more time.”
- Skipping the fall weatherseal check. Waiting until spring to look at the bottom seal means a whole winter of cold air and moisture getting past it, which is exactly the moisture that starts the frost-heave cycle in the floor under the door.
When to Call a Professional
Call a technician when a spring breaks, a cable frays, the door won’t close or lift, the door is visibly out of balance, a track has moved, the opener is stripping or grinding, or any of the three safety tests fails twice in a row. Call sooner rather than later if the door has been left partially open, since it’s both a security gap and a strain on the remaining spring. Call us if you’re unsure between a maintenance item and a repair. Garage Door Repair Akron Pros offers free estimates in Akron, and we work on LiftMaster, Chamberlain, Genie, Clopay, Amarr, Wayne Dalton, Craftsman, and Raynor equipment. Call (833) 317-2051. We answer 24/7. Fast dispatch from 7am to 7pm, Sunday through Friday.
Frequently Asked Questions
Lubricate twice a year, run the three safety tests quarterly, and do a visual walk-around monthly. Weatherseals should be checked in the fall before the first freeze and again in spring as the thaw arrives. That schedule covers the two failure patterns that cause most emergency calls in Akron – spring fatigue and frost-driven track movement.
Estimate your cycle count first: divide your daily openings by the spring’s cycle rating to get a rough lifespan, and adjust for years already in service. Then look for a broken gap in the spring, a door that lifts only a few inches before stopping, or a visible twist in the coil. If any of those appear, stop using the door and call (833) 317-2051 for an exact quote – estimates are free.
You can apply a light coat of a proper garage door lubricant to the visible coils of the spring as they sit – that’s the one safe contact point. What you should never do is wind, unwind, adjust, or loosen any part of the spring, the cables, or the winding cone. Those are under extreme tension and require a trained technician.
Frost heave is what happens when the soil under the concrete slab freezes and lifts the floor, pulling the garage door tracks slightly out of alignment. Check for a new crack or a lift at the edge of the concrete along both tracks, an uneven gap under the closed door, or the door binding at the same height every time. Those signs mean the track needs a technician’s look.
Not always, but check it every fall and every spring. Akron’s temperature swings harden and crack rubber faster than in milder climates, and a seal that’s fine in July can be brittle by December. If the bottom seal feels stiff or shows cracks and gaps, replace it before winter.
Your price is quoted and agreed before any work starts, and the written estimate sets the final price. If we find something different during the visit, we’ll show you and give you a revised written estimate before any work continues. Call (833) 317-2051. We answer 24/7. Fast dispatch from 7am to 7pm, Sunday through Friday.
The Bottom Line
Most garage door problems in Akron fall into two categories: spring fatigue driven by cycle count, and track misalignment triggered by winter frost heave. Count your actual daily cycles to estimate how much spring life is left. Check the floor and both tracks after every hard freeze. Lubricate the right parts with the right products, and leave the spring coils themselves to a technician. Run the three safety tests quarterly – auto-reverse, photo-eye, manual disconnect. And check the weatherseal on Akron’s seasonal calendar rather than on an arbitrary date, because moisture getting past a winter-hardened seal is the start of the frost-heave chain. Give the door an hour a quarter and you’ll catch most repairs while they’re still small.
Call (833) 317-2051 for a free estimate if anything on this checklist turns up something you’d rather have looked at by a specialist. We work on every major door and opener brand, and if the job calls for a replacement, we handle garage door installation as well. For straightforward fixes, our team handles garage door repair with the same brand-specific knowledge.
Written by the team at Garage Door Repair Akron Pros.
See the difference
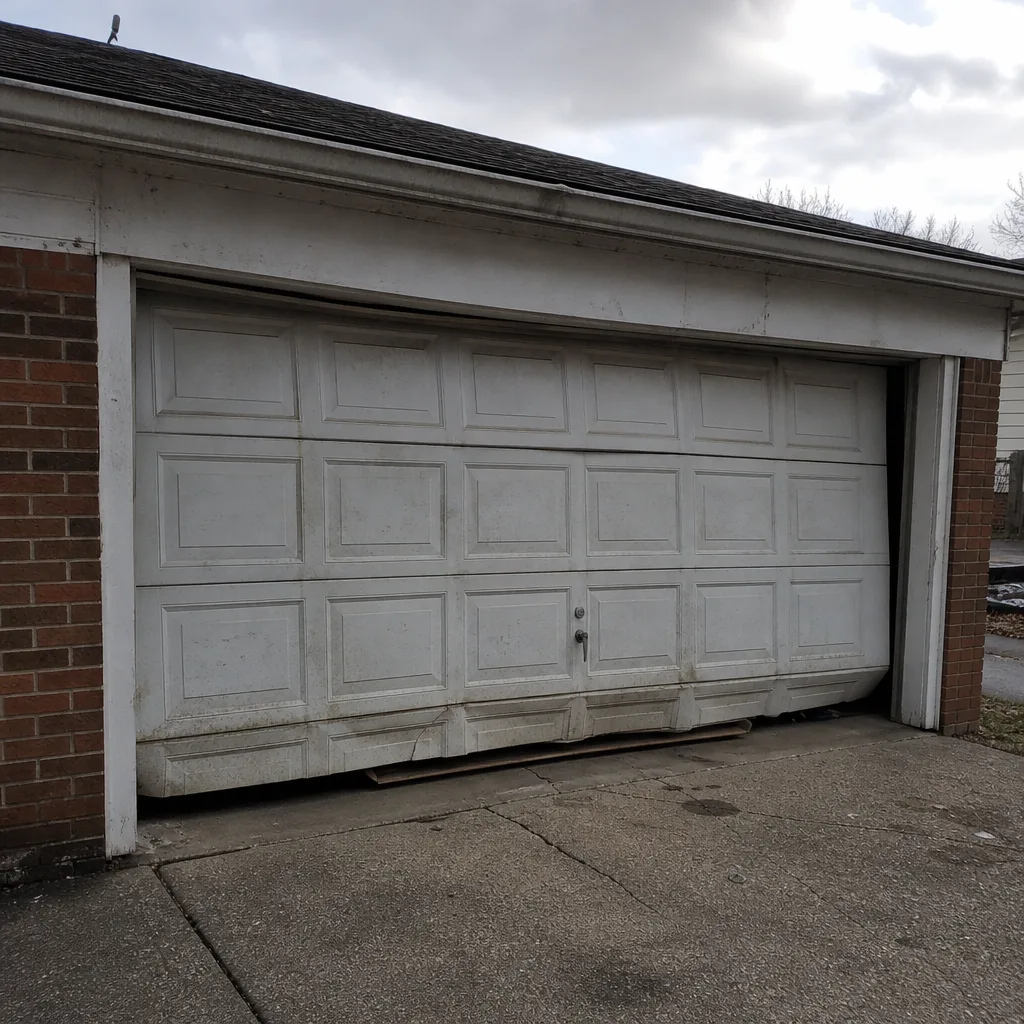 Before
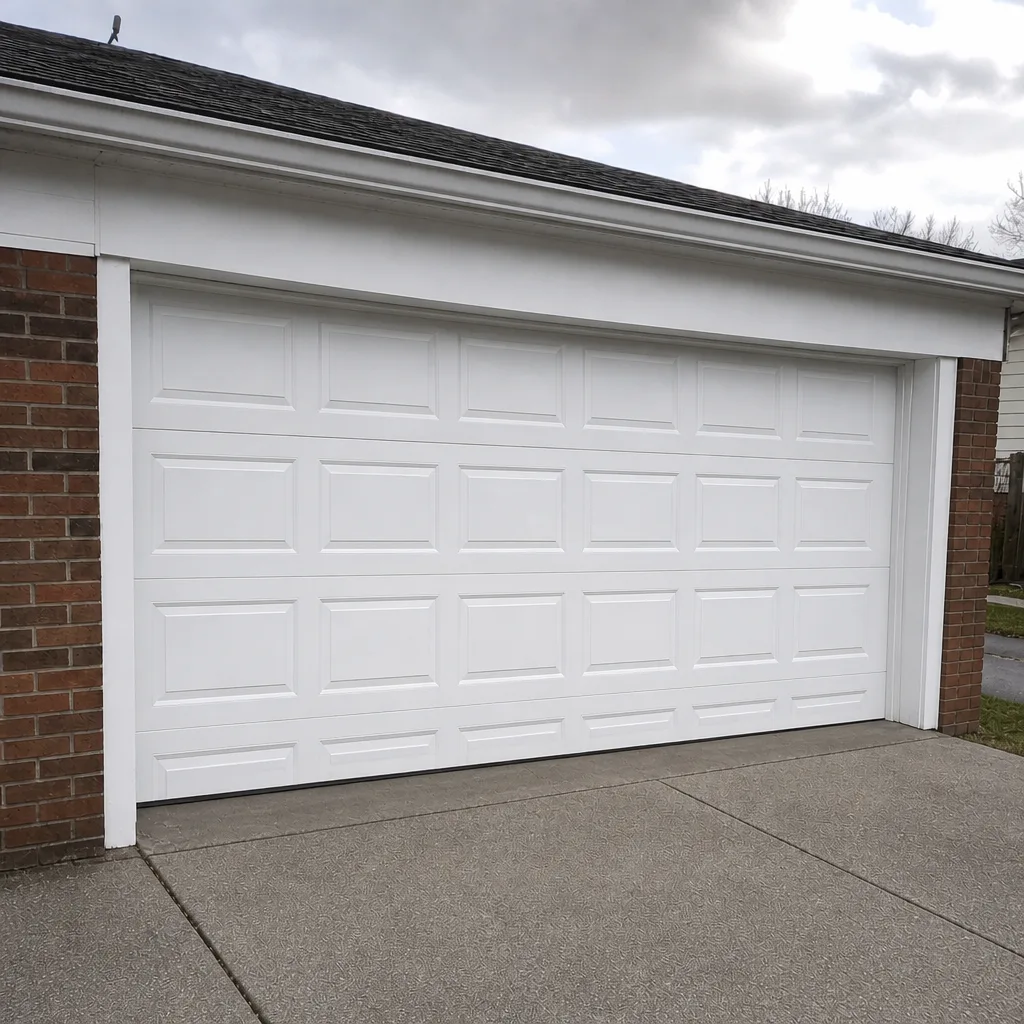 After
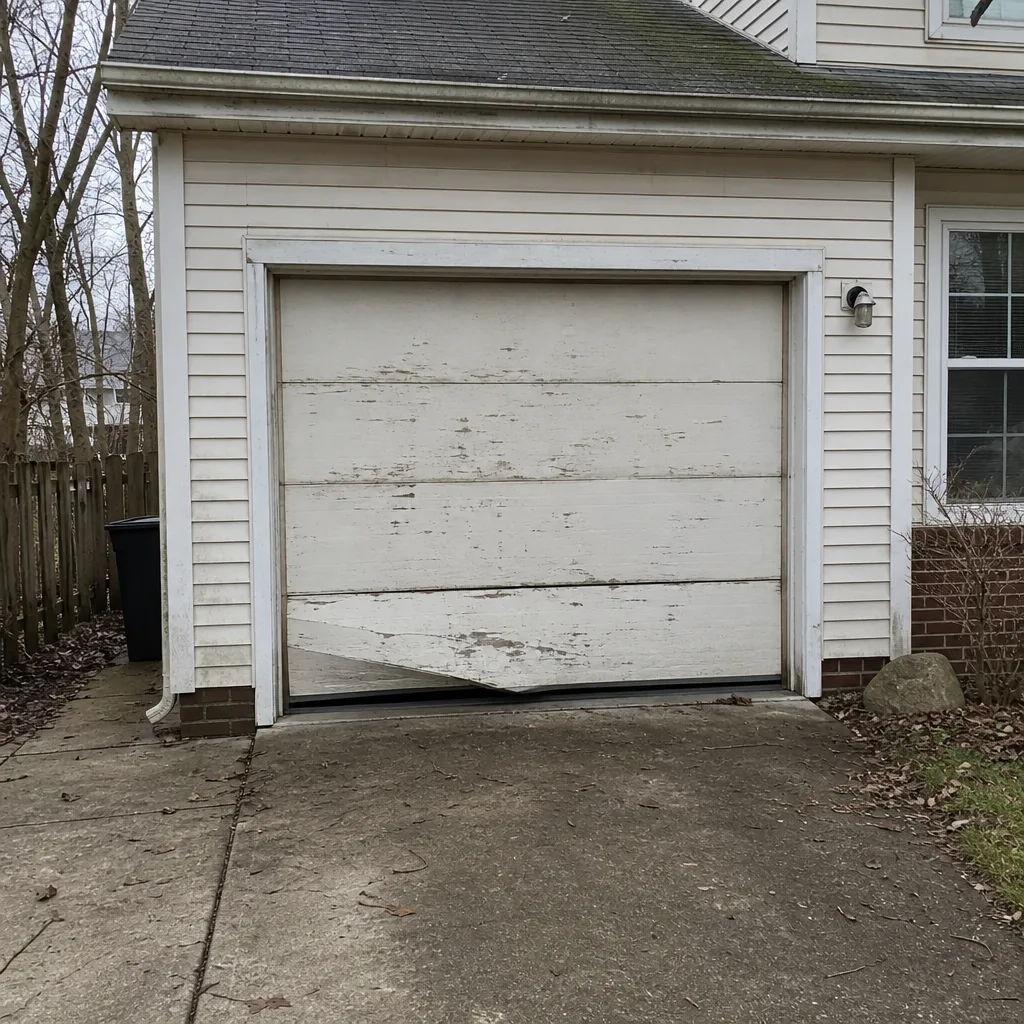 Before
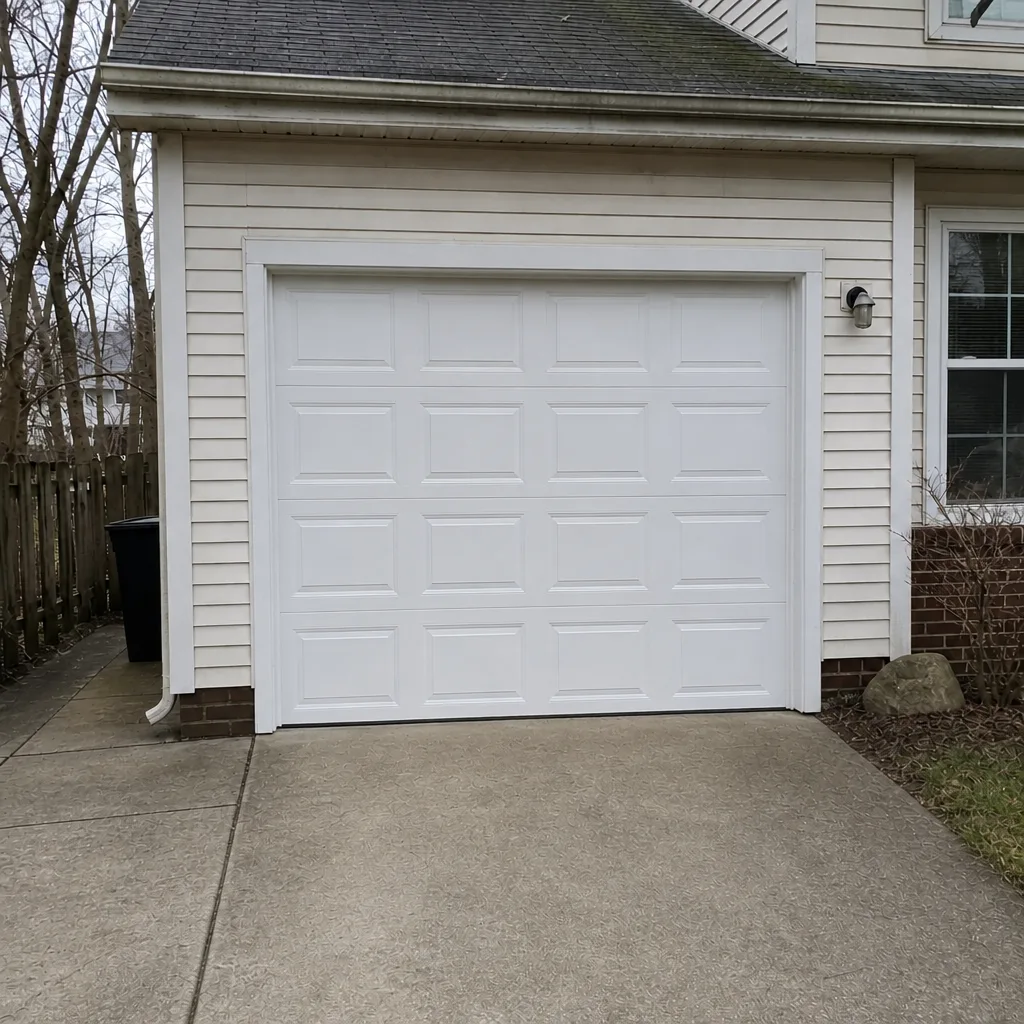 After
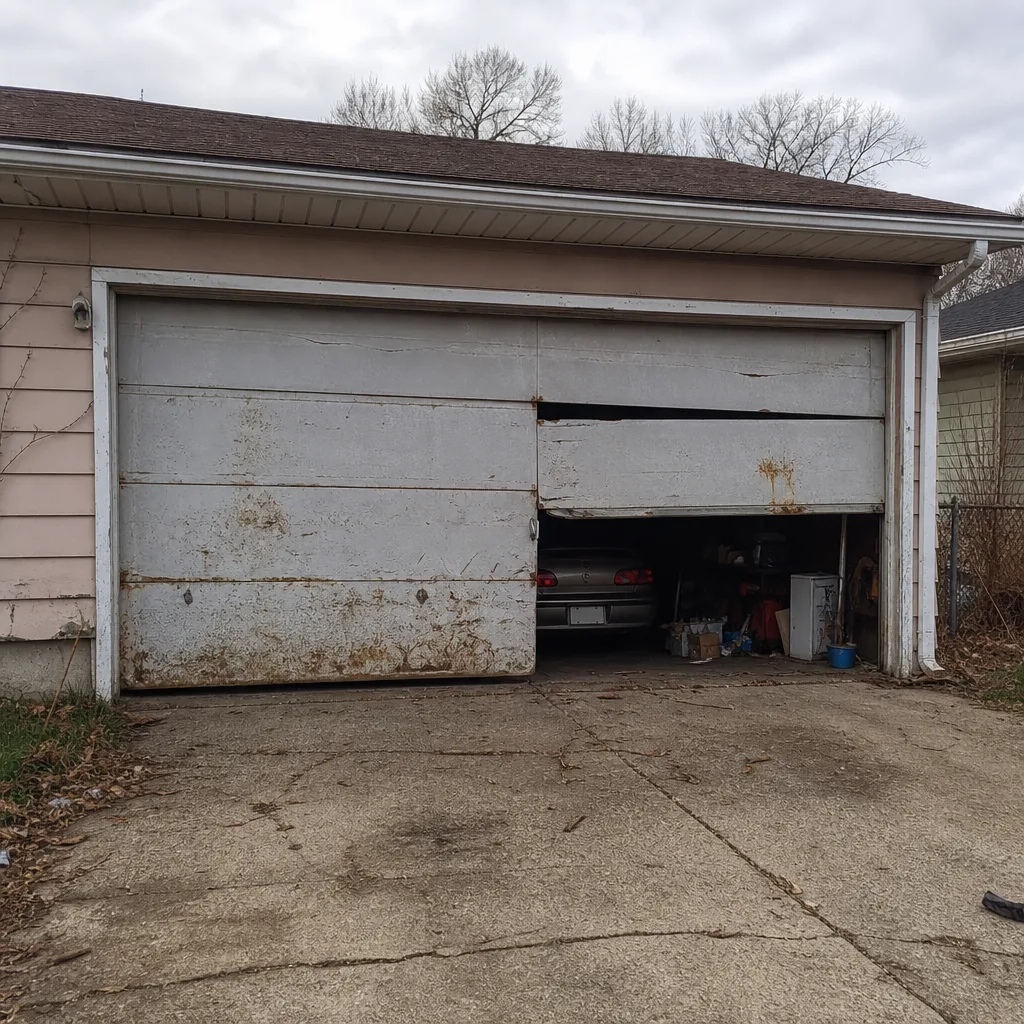 Before
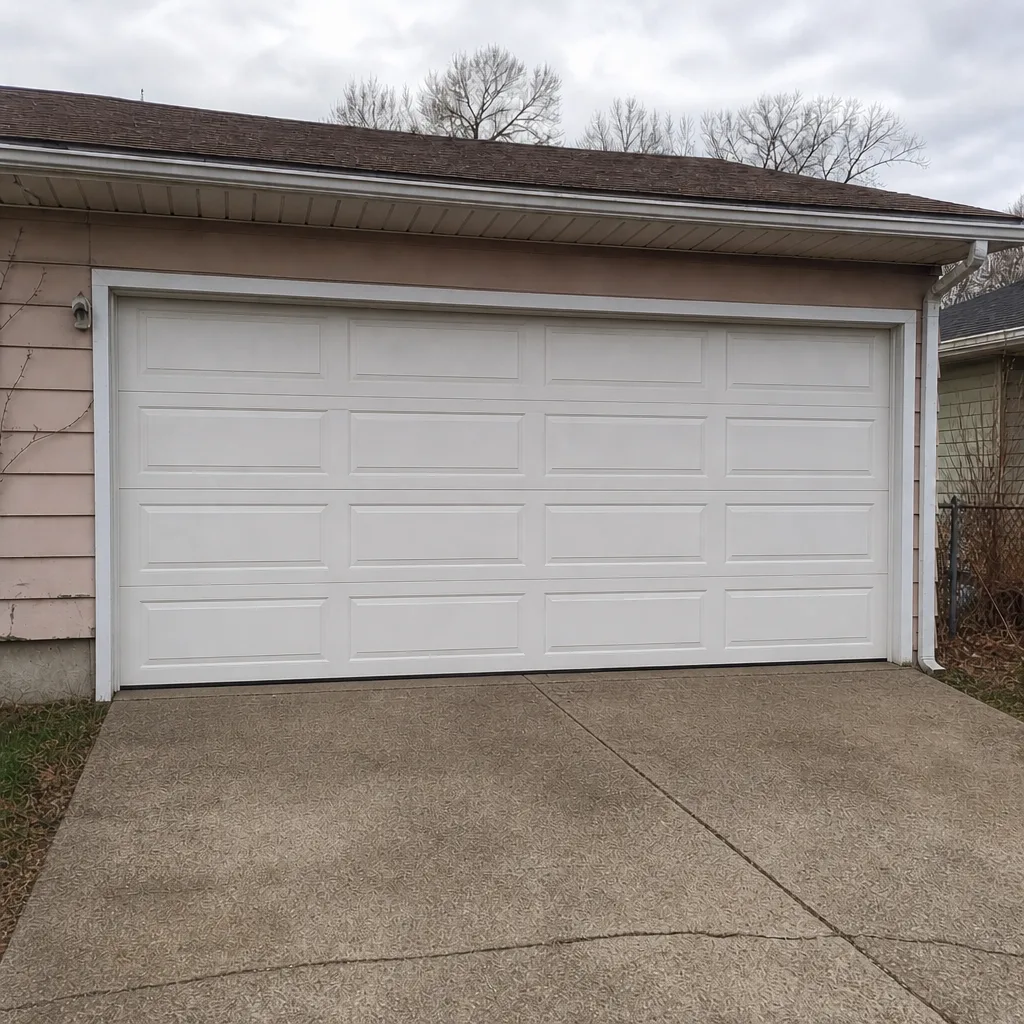 After